8 Steps To Install A Chimney Liner
While constructing a house, one of the important structures that you need to pay attention to is the chimney, to ensure it is safe to use. This means that you must install the chimney liner properly and install a new one if there isn’t one already. A chimney liner is a channel usually made up of ceramic, clay, or metal that is installed inside a chimney. It provides a passage for the combustible products to make it outside of the house. It is usually installed by outdoor fireplace contractors. Now, let’s just take a look at the step on how to install a chimney liner properly.

-
Review:
The very first step that you should do before chimney liner installation is to review your chimney. Check whether there are any bends or anything that can be a challenge while installing the liner.
-
Measurements:
The next thing that you should do is to measure the chimney’s diameter and length, to use an appropriate liner for installation.
-
Buy a chimney liner:
Then you should buy a chimney liner according to the measurements you did earlier. Make sure to decide which type of liner you want to buy beforehand.
-
Apply insulation and flatten the liner:
After buying the liner, flatten the liner on a plane surface. Then at the bottom connector hook the bottom of the liner and fasten the hose clamp.
Next, decide the type of insulator you will be using whether it will be a pour-in insulator or an insulator blanket. Then apply the insulator around.
-
Adhesive, foil tape and hose clamp:
Use the adhesive to attach the insulation to the liner. Then, use the foil tape to completely seal the seams. At last, use a hose clamp at the bottom of the connector to hold the mesh in place.
-
Position the bottom connector:
In this step, you have to position the bottom connector in the chimney cavity's center and slowly guide it to the bottom with the help of ropes. Make sure to avoid any snags in the process.
-
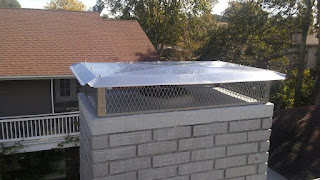
Seal the crown:
When the liner is positioned in the center, then seal the chimney crown by using silicone caulking.
-
Attach the connector to the liner:
Now, the last step is to connect the liner to the appliance connector at the bottom.
If you are following one-by-one steps to install a chimney liner, then you will never regret the chimney liner installation at the right place.


Comments
Post a Comment